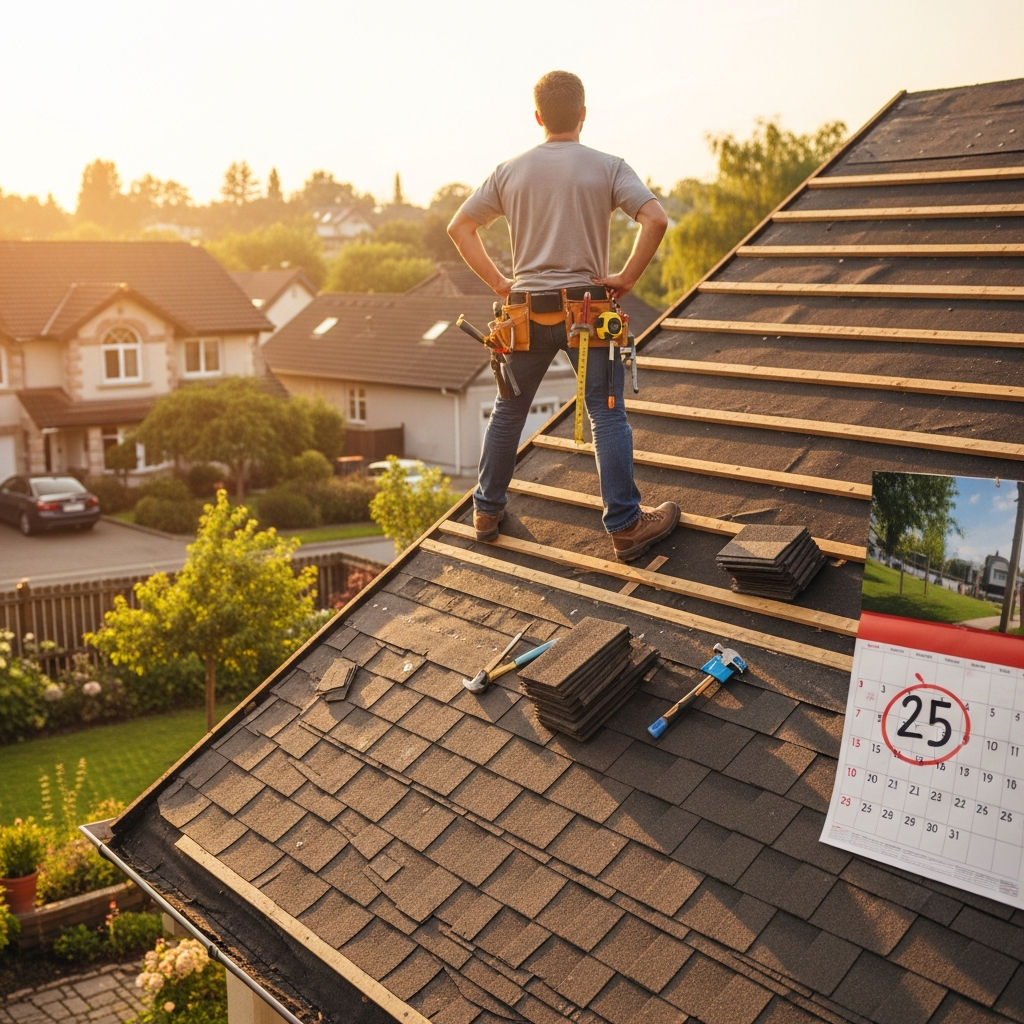
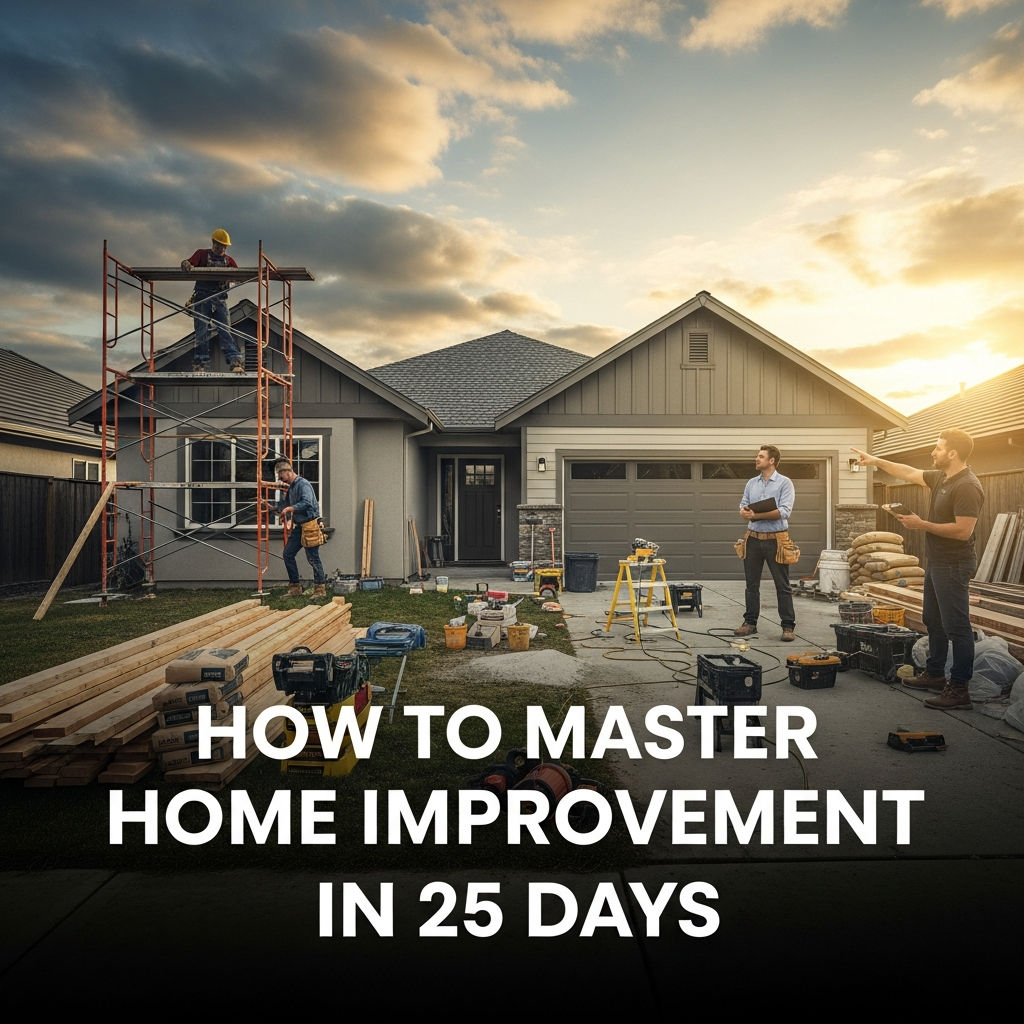
How to Master Home Improvement in 25 Days: The Ultimate DIY Guide
The dream of a perfect home often feels sidelined by high contractor costs and intimidating renovation timelines. However, mastering home improvement doesn’t require a degree in architecture or decades of trade experience. With a structured approach, the right tools, and a focused 25-day plan, you can transform from a DIY novice into a confident home improvement enthusiast capable of increasing your property value and enhancing your living space.
This comprehensive guide breaks down the 25-day journey into manageable phases. By following this roadmap, you will learn the foundational skills of carpentry, painting, basic plumbing, and electrical work while completing tangible projects that make a difference.
Phase 1: Foundations and Tool Mastery (Days 1–5)
Before you swing a hammer or strip a wire, you must understand the “why” and the “how.” The first five days are dedicated to building your mental and physical toolkit.
Day 1: The Home Audit and Planning
Walk through your home with a critical eye. Create a spreadsheet of every squeaky floorboard, outdated light fixture, and chipped paint patch. Prioritize tasks based on “High Impact vs. Low Effort.” Mastering home improvement starts with professional-grade organization.
Day 2-3: Tool Acquisition and Safety Training
You cannot do a professional job with amateur tools. Invest in a high-quality cordless drill, a level, a miter saw, and safety gear. Spend these two days practicing on scrap materials. Learn how to find studs, drive screws without stripping them, and make precise 45-degree cuts. Safety is paramount—never skip eye protection or earplugs.
Day 4-5: Understanding Home Systems
Spend these days educating yourself on how your home breathes and flows. Locate your main water shut-off valve, the electrical breaker box, and the HVAC filters. Understanding the “anatomy” of your house prevents costly mistakes later in the challenge.
Phase 2: The Power of Surface Restoration (Days 6–10)
Nothing changes the feel of a home faster than paint and wall repair. These skills are the bread and butter of home improvement.
Day 6-8: Mastering the Professional Paint Job
Professional painting is 80% preparation. Spend Day 6 cleaning walls, filling holes with spackle, and sanding. Day 7 is for “cutting in” around edges with precision. Day 8 is for the main roll. Learning how to load a brush and use a roller without leaving lap marks is a skill that will save you thousands of dollars over a lifetime.
Day 9-10: Advanced Wall Treatments
Move beyond flat paint. Learn how to install simple board and batten or wainscoting. These architectural details add immediate “flip value” to a home. Mastering the use of a brad nailer and wood filler during these two days will elevate your aesthetic output from “basic DIY” to “custom build.”
Phase 3: Vital Systems—Light and Water (Days 11–15)
This phase moves into the technical heart of the home. While major rewiring requires a pro, many “mastery” tasks are well within reach of a careful DIYer.
Day 11-12: Electrical Upgrades
Learn how to safely swap out old, yellowed outlets for modern USB-compatible ones. Replace an outdated boob-light with a modern chandelier or recessed lighting. Always use a voltage tester. Mastering the art of the “pigtail” wire connection and understanding grounding is essential for any home improver.
Day 13-15: Plumbing Essentials
Leaky faucets and outdated showerheads are the primary targets here. Learn how to apply Teflon tape, replace a P-trap under the sink, and swap out a kitchen faucet. These three days should focus on the “seal”—learning how to prevent leaks is the most valuable plumbing skill you can possess.
Phase 4: The High-Impact Rooms—Kitchen and Bath (Days 16–20)
The kitchen and bathroom are the most important rooms for home valuation. Mastering small-scale renovations in these areas provides the highest return on investment.
Day 16-18: Cabinetry and Hardware Refresh
Don’t replace your cabinets; master the art of refinishing them. Learn to degrease, prime with high-adhesion primer, and apply a durable enamel paint. Swapping out old hinges and pulls for modern matte black or brushed gold hardware can make 20-year-old cabinets look brand new.
Day 19-20: Tiling and Grouting
A kitchen backsplash is the perfect entry-level tiling project. Learn how to use a manual tile cutter, apply thin-set mortar with a notched trowel, and space tiles evenly. Day 20 is dedicated to grouting—a process that requires patience and a gentle touch with a grout sponge.
Phase 5: Curb Appeal and Final Polish (Days 21–25)
The final stretch is about the “handshake” of the home—the exterior and the fine details that make a house feel finished.
Day 21-23: Exterior Impact
Focus on your front entrance. Sand and paint the front door, replace the house numbers with modern typography, and install smart outdoor lighting. If you have a deck or porch, learn the basics of power washing and staining to protect the wood from the elements.
Day 24: Trim, Caulking, and Detailing
This is the “pro-level” day. Go through the house and apply fresh caulk to bathtubs and baseboards. A clean caulk line is the hallmark of a master. Fix any remaining “punch list” items from your Day 1 audit.
Day 25: Maintenance Mastery and Reflection
The final day is about sustainability. Create a seasonal maintenance calendar based on what you’ve learned. Clean your tools, organize your workshop, and document your progress. You are no longer someone who “owns a house”; you are someone who “maintains a home.”
Essential Tools for Every Home Improvement Master
- Power Drill/Driver: For everything from hanging pictures to building decks.
- Non-Contact Voltage Tester: An absolute necessity for electrical safety.
- 4-Foot Level: Because nothing looks professional if it’s crooked.
- Multi-Tool (Oscillating Saw): The “Swiss Army Knife” of renovations for tight cuts.
- High-Quality Caulk Gun: Invest in a dripless model to save your sanity.
- Combination Square: Essential for precision measurements and marking 90-degree angles.
Top Tips for Success During the 25-Day Challenge
- Batch Your Shopping: Nothing kills momentum like three trips to the hardware store in one day. Plan your materials 48 hours in advance.
- Clean as You Go: A messy workspace leads to accidents and frustration. Spend the last 15 minutes of every day tidying up.
- Use YouTube as a Supplement, Not a Crutch: Watch three different experts perform a task before you try it to see varying techniques.
- Don’t Cheap Out on Consumables: High-quality sandpaper, painter’s tape, and drill bits make a significant difference in the final finish.
Conclusion: The Lifelong Benefit of DIY Mastery
Mastering home improvement in 25 days is a marathon, not a sprint. While you won’t become a master carpenter in less than a month, you will develop the “problem-solving muscle” that defines professional tradespeople. By taking ownership of your space, you save money, increase your net worth, and create a home that truly reflects your standards. The skills you’ve acquired—from the precision of a miter cut to the patience of a grout line—will serve you for as long as you own a roof over your head. Now, pick up your level, check your measurements, and start Day 1.