Building a durable brick path starts with a solid foundation, and the steps outlined in a recent DIY guide show how a homeowner can achieve that without professional help.
Preparing the Site and Removing Existing Materials
The first task is to pull up old bricks and stack them neatly beside the work area. A pointed spade then digs out all sand from the path, shoveling the material into a wheelbarrow for disposal. This clears the way for the base layers that follow.
Creating Edge Trenches and Setting the Grade
Contractors typically dig a six‑inch‑deep trench along both edges of the path to accommodate soldier courses of bricks. After the trenches are in place, the orange grade line is adjusted so the surface slopes away from the house at roughly a quarter inch per foot. This slight incline helps water drain away, reducing the risk of erosion under the bricks.
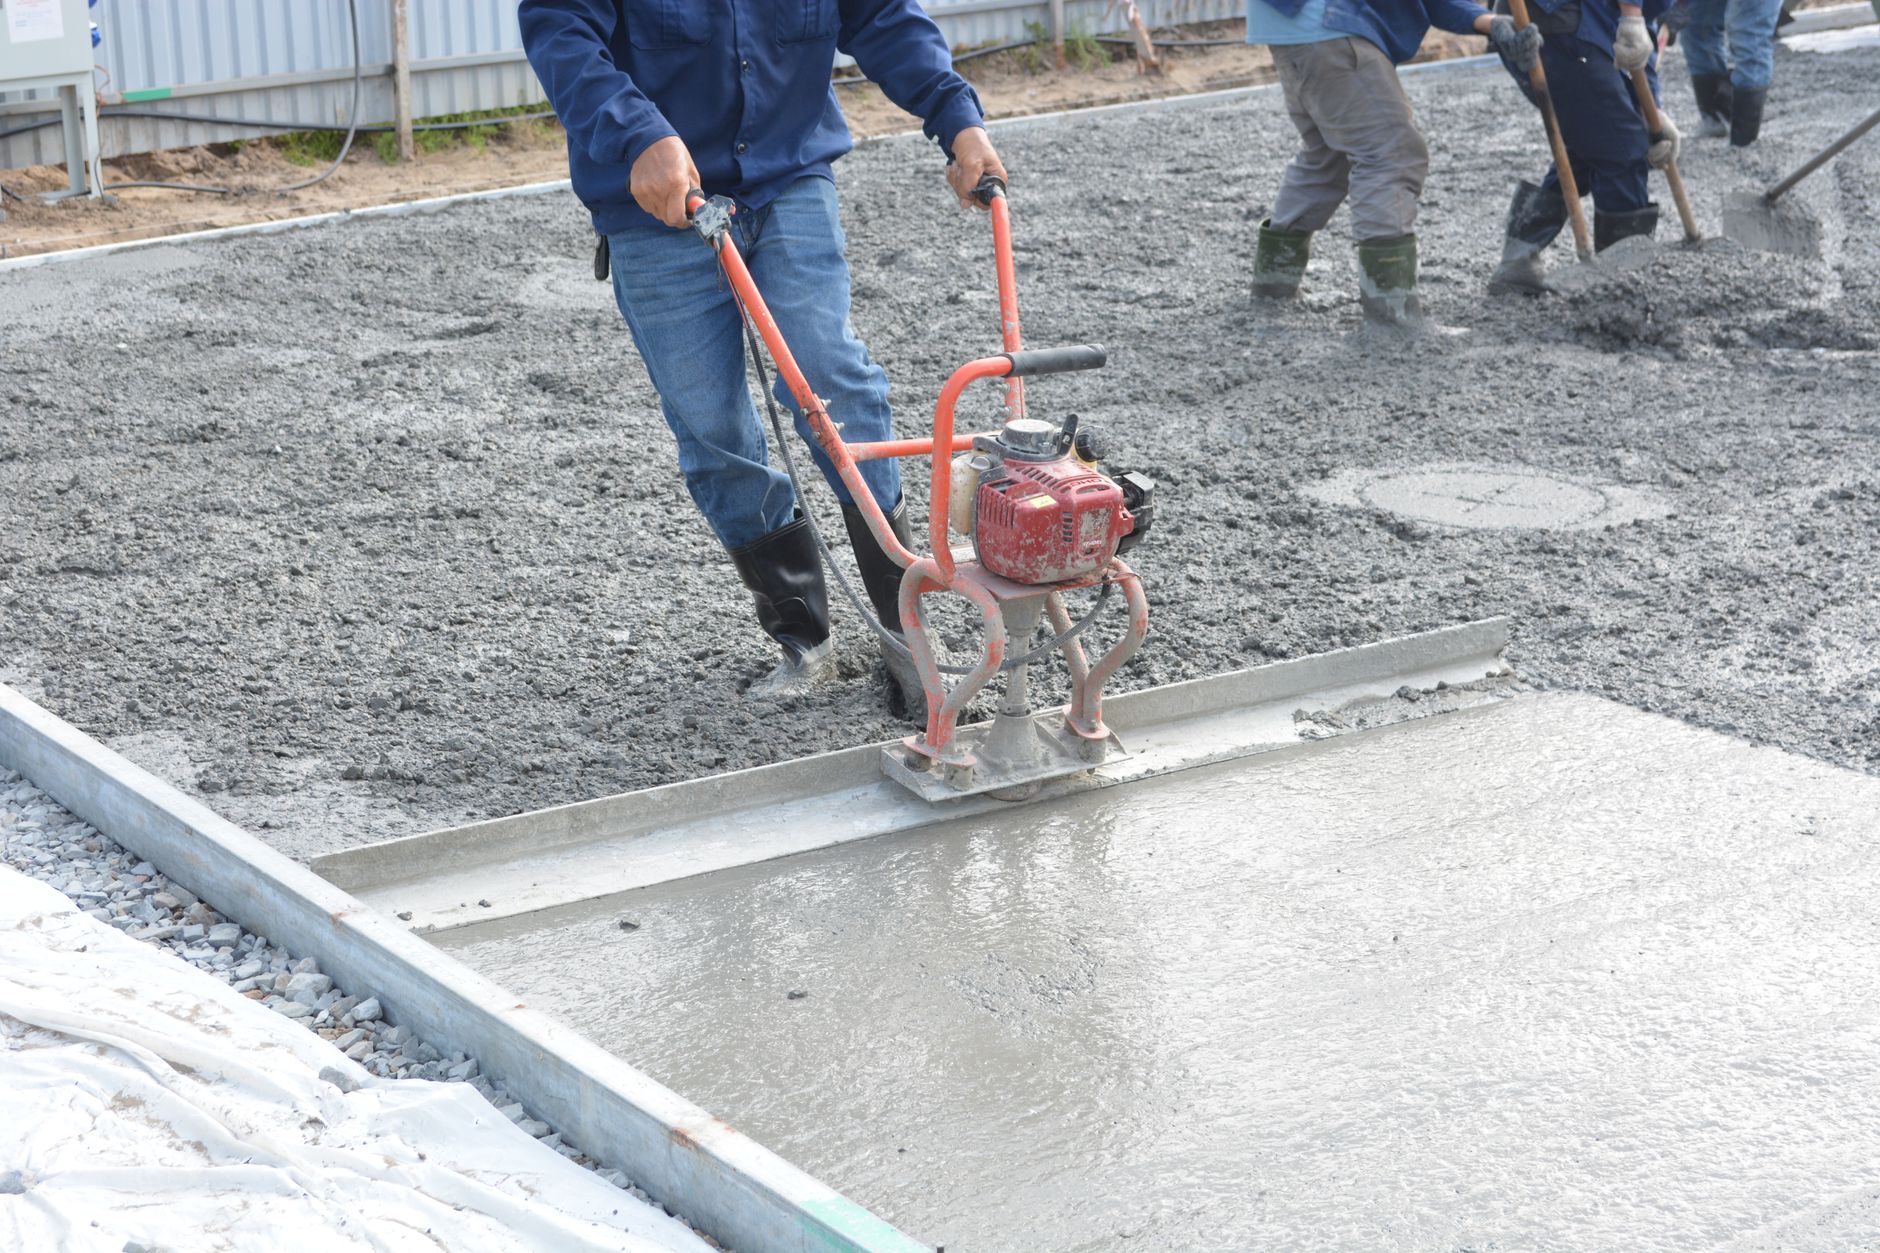
Compacting the Soil and Adding the First Stone Layer
A plate compactor runs back and forth over the excavated area, compacting the native soil. Once the soil is firm, a two‑ to three‑inch layer of ¾‑inch crushed stone mixed with stone dust is spread across the path. The same compactor is used to compact this stone base, and a hand tamper finishes the corners and any spots the machine missed.
Related: Bathroom Remodel Costs Rise in 2026
Building Up the Base with Additional Stone
A second two‑inch layer of crushed stone is added and compacted again. This double‑layer approach creates a stable platform that can bear the weight of the bricks and any foot traffic. Each pass of the compactor contributes to long‑term stability.
Installing Form Boards for Brick Alignment
With the base set, the guide recommends using the claw of a mason’s hammer to dig a shallow trench along each side of the pathway. Composite decking form boards are placed in these trenches, aligning them with a pre‑marked yellow line. Wooden stakes hold the boards in place, and 2‑inch screws secure them to the stakes once the boards are raised to the orange grade line.
A second form board is installed on the opposite edge, mirroring the first. The two boards define the width of the brick path and keep the bricks aligned during installation.
Cost and Time Estimates
The instructions estimate a total cost of $200 to $300 for a twenty‑foot‑long path, assuming the homeowner already has basic tools. Required tools include a power plate compactor, hand tamper, pointed spade, garden rakes, a three‑pound sledge hammer, masonry hammer, drill/driver, and a wheelbarrow. The estimated time to complete the project is eight to ten hours, reflecting the hands‑on nature of the work.
Related: How Professional Window Installation Improves Comfort and Efficiency in Lakewood Ranch
Considerations and Common Pitfalls
While the steps are straightforward, the project demands considerable time on one’s hands and knees. Skipping any compaction stage or neglecting the proper slope can lead to uneven settling, which may cause bricks to shift over time. Homeowners who are unsure about their ability to maintain the correct grade often consult a setting professional for a quick inspection.
One homeowner who recently completed a similar project said, “I followed the instructions exactly, and the path has held up through a wet spring without any movement.” Their experience supports the claim that careful preparation pays off.
By following these steps, a homeowner can lay a brick path that not only looks good but also stands the test of time, provided they pay close attention to compaction and grading. For more details on protecting the foundation, see the linked guide.